
Small nail holes in drywall are one of those little things you stop noticing—until you do. Maybe you moved a picture frame, removed a shelf, or rearranged furniture, and suddenly a few tiny holes are staring back at you. The good news is that fixing them is one of the easiest home repairs you can do, and it doesn’t require special skills or expensive tools.
With a bit of spackle and a few minutes of work, those holes can disappear completely.
What Counts as a “Small” Nail Hole?
In drywall repair terms, small nail holes are usually anything left behind by finishing nails, picture hooks, or small screws—typically less than a quarter inch wide. These don’t require patches or mesh tape. A simple filler is enough to restore the surface.
If the hole is larger, crumbling, or has damaged edges, the repair process changes slightly—but for standard nail holes, this simple method works perfectly.
What You’ll Need
Before starting, gather a few basic supplies. Most are inexpensive and may already be in your home:
- Spackle or lightweight wall filler
- Putty knife (a 2–4 inch blade works best)
- Fine-grit sandpaper (120–220 grit)
- Damp cloth or sponge
- Touch-up paint (matched to your wall color)
Optional but helpful:
- Primer (if the wall is unpainted or heavily patched)
- Small sanding block for better control
Step 1: Clean the Area
Start by wiping the area around the hole with a dry or slightly damp cloth. Remove any loose drywall dust, chipped paint, or debris. A clean surface helps the filler stick properly and creates a smoother finish.
Let the area dry completely before moving on.
Step 2: Apply Spackle
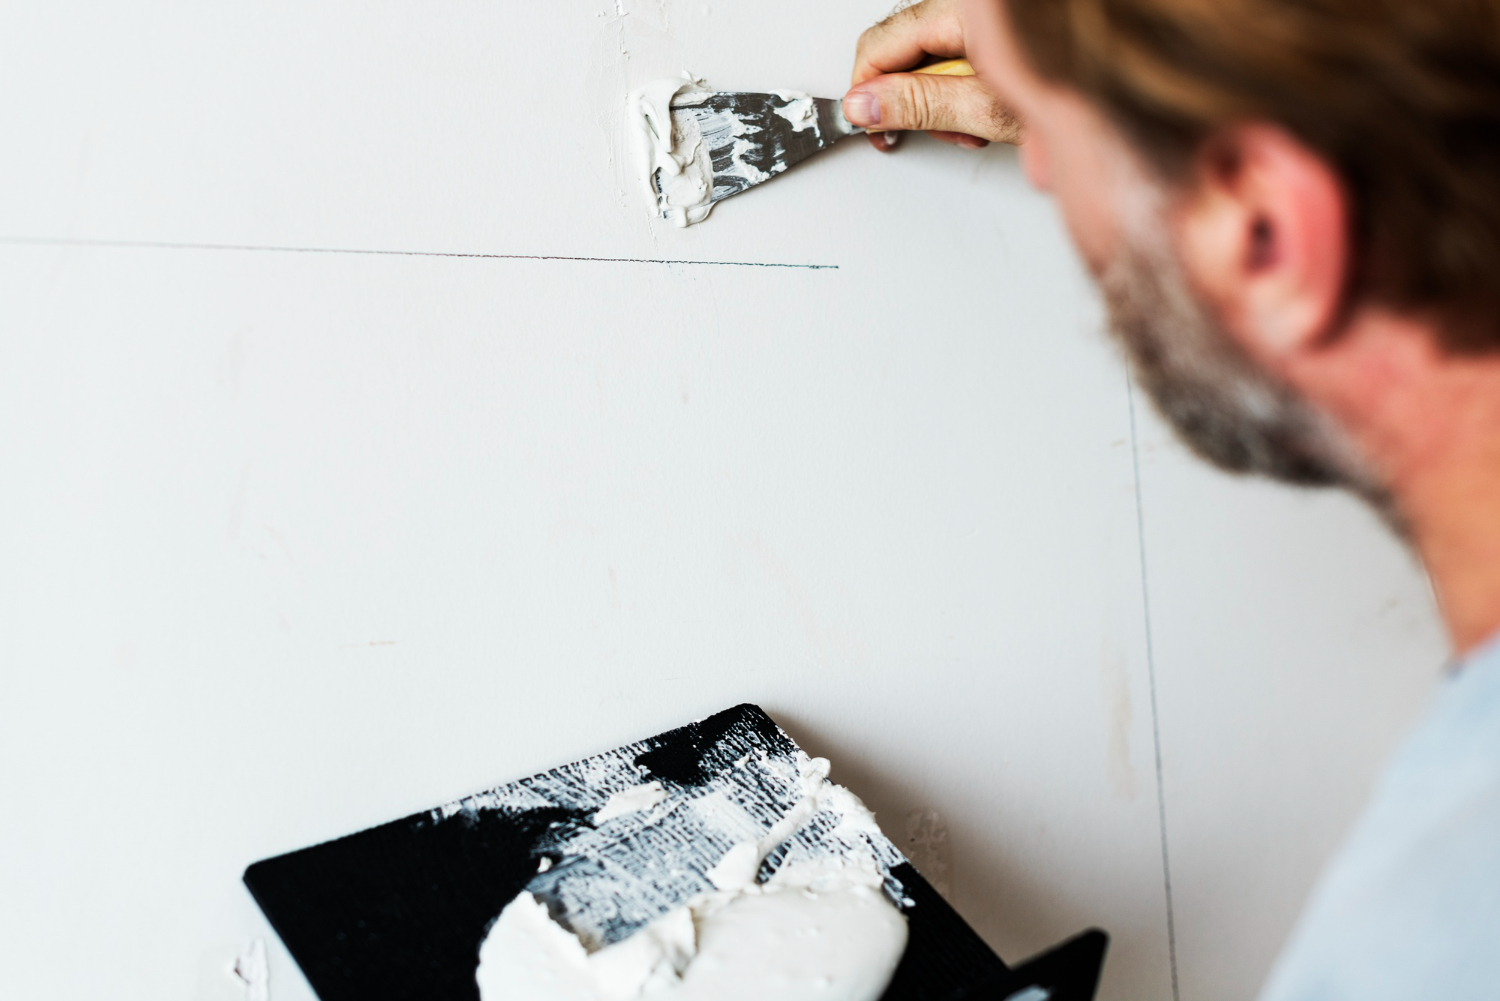
Using your putty knife, scoop a small amount of spackle and press it directly into the hole. Don’t just skim over the surface—make sure the material fills the hole completely.
Then, drag the putty knife flat across the wall to remove excess filler and smooth it out. The goal is to leave a thin, even layer that sits flush with the wall surface.
For very tiny holes, one application is usually enough. If the hole is slightly deeper, you may need a second coat after the first one dries.
Step 3: Let It Dry Properly
Drying time depends on the product you use, but most lightweight spackles dry within 30 minutes to a few hours. It may be tempting to rush this step, but sanding too early can ruin the repair and create a rough finish.
A good rule of thumb: if it still feels cool or soft, it’s not ready.
Step 4: Sand It Smooth
Once fully dry, gently sand the patched area using fine-grit sandpaper. Use light pressure and small circular motions until the surface feels smooth and blends into the surrounding wall.
Run your hand lightly over the area to check for bumps or uneven edges. If you can feel the patch, it will likely be visible after painting.
Step 5: Touch Up the Paint
Painting is what makes the repair disappear completely.
Use a small brush or roller to apply matching paint over the patched area. Feather the edges slightly beyond the repair so it blends into the surrounding wall.
If your wall has a flat finish, touch-ups are usually seamless. Satin or semi-gloss finishes may require a bit more blending to avoid visible edges.
When You Might Need More Than Spackle
While small nail holes are simple to fix, there are a few situations where a different approach is better:
- Multiple clustered holes close together
- Cracked or crumbling drywall around the hole
- Holes larger than a quarter inch
- Water-damaged areas
In those cases, a patch kit or mesh tape may be necessary to reinforce the area before finishing.
Common Mistakes to Avoid
Even though this is an easy repair, a few small mistakes can make the patch more noticeable than the original hole:
- Applying too much spackle at once
- Skipping sanding or sanding too aggressively
- Painting before the patch is fully dry
- Using the wrong paint finish or color match
- Leaving raised edges around the patch
A light, careful approach almost always produces better results.
A Simple Trick for Better Results
If you’re repairing several holes in one room, do them all at once. This gives you a consistent drying and sanding rhythm and makes touch-up painting more efficient.
Also, keep a small container of spackle and a putty knife in your basic home repair kit. It’s one of those supplies you’ll end up using more often than you expect.
Repairing small nail holes in drywall is one of the easiest ways to keep your home looking clean and well-maintained.
It doesn’t take special training or expensive tools—just a bit of patience and attention to detail.
Once you’ve done it a couple of times, it becomes second nature. And the next time you move a picture frame or rearrange a room, those tiny holes won’t feel like a problem at all—they’ll just be a quick, five-minute fix.