
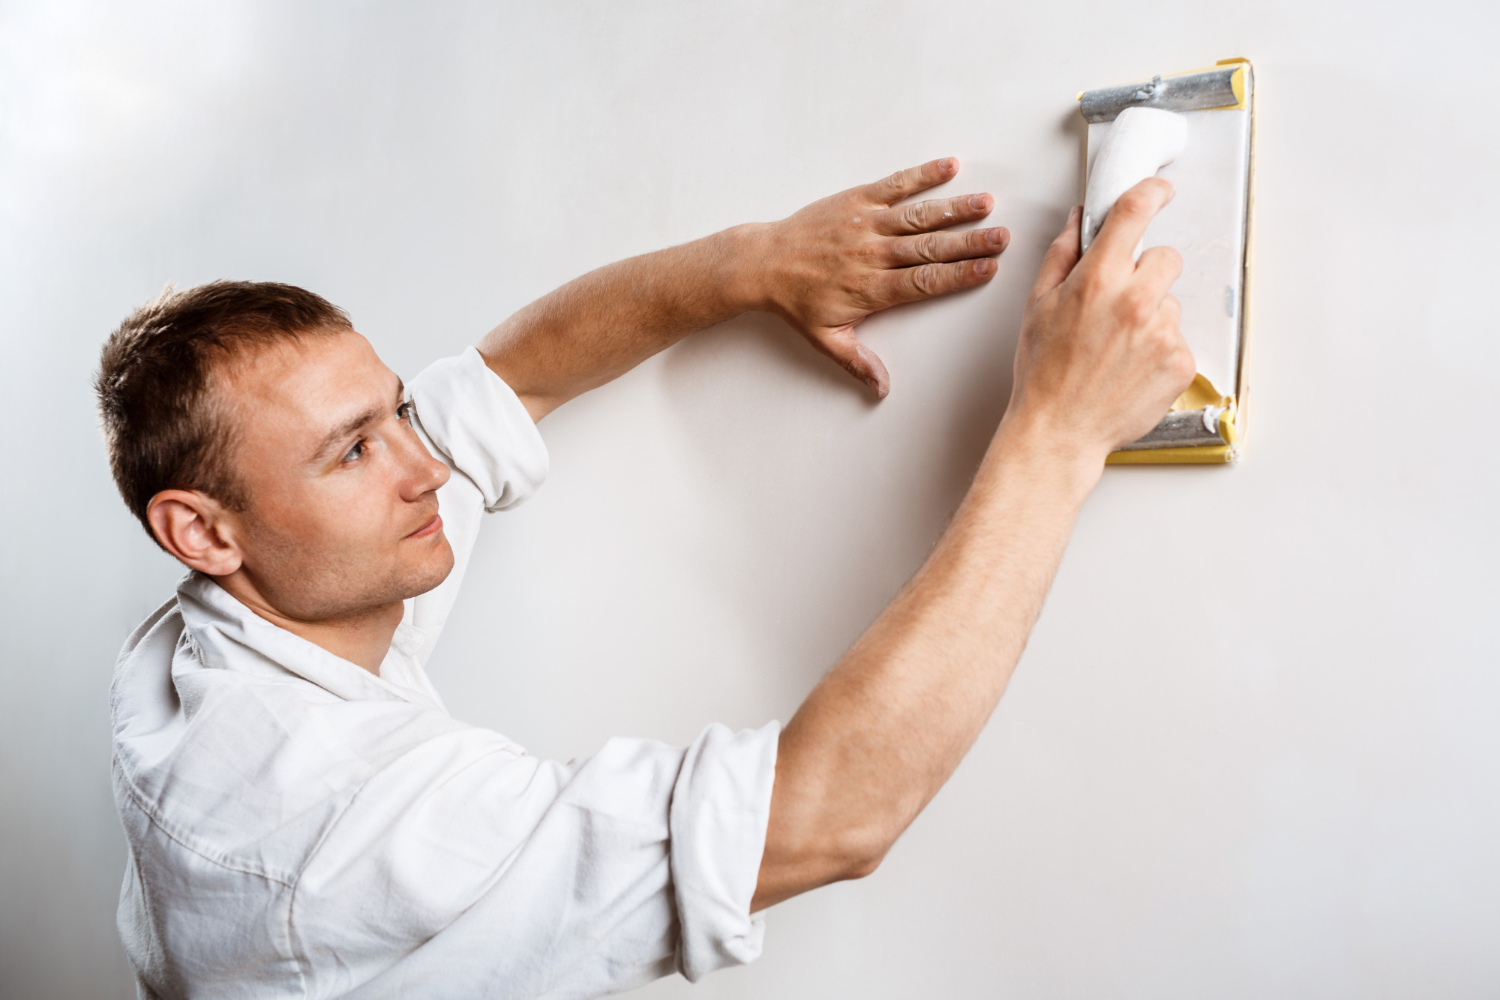
You’ve filled the hole, waited for the patch to dry, and you’re almost ready to paint. But before you open the paint can, there’s one step that makes all the difference between a repair that’s nearly invisible and one that stands out every time you walk past it: sanding.
Sanding is what blends a repair into the surrounding wall. Done correctly, it removes ridges, smooths uneven filler, and creates a seamless surface that’s ready for primer and paint. The process is simple, but a little patience goes a long way.
Why Sanding Is So Important
When you apply spackle or joint compound, it’s difficult to leave a perfectly smooth finish with a putty knife alone. Even a well-done patch usually has slight ridges or raised edges.
Sanding helps:
- Smooth out excess filler
- Blend the repair into the surrounding wall
- Remove knife marks
- Prepare the surface for paint
- Create a professional-looking finish
Skipping this step often leaves a noticeable bump or rough spot that becomes even more visible after painting.
Let the Repair Dry Completely
Before you reach for the sandpaper, make sure the repair has fully dried.
Even if the surface feels dry to the touch, the material underneath may still be curing. Sanding too soon can pull filler out of the repair, leaving holes or uneven spots that require another application.
Check the product’s recommended drying time, and if you’re unsure, wait a little longer. A fully cured repair sands much more easily and produces a better result.
Choose the Right Sandpaper
The type of sandpaper you use matters. A grit that’s too coarse can scratch the wall, while one that’s too fine may take longer to smooth the repair.
For most drywall repairs:
- 120-grit works well for removing larger ridges or excess filler.
- 150-grit is a good all-purpose choice for blending patches.
- 180- to 220-grit is ideal for final smoothing before painting.
If you’re only repairing a small nail hole or dent, starting with a finer grit is usually enough.
Use a Sanding Block or Sponge
Although it’s possible to hold sandpaper in your hand, wrapping it around a sanding block or using a sanding sponge gives you more control.
These tools help distribute pressure evenly, reducing the chance of creating dips or uneven areas in the wall.
Sanding sponges are especially useful for corners, curved surfaces, or textured walls where traditional sandpaper may not conform as well.
Sand with Light Pressure
It’s tempting to press hard in an effort to finish faster, but that’s one of the easiest ways to damage the repair.
Instead:
- Use gentle, even pressure.
- Sand in small circular or back-and-forth motions.
- Check your progress frequently.
Remember, you’re removing only the excess filler—not the entire patch.
Feel the Surface
Your eyes don’t always tell the whole story. After sanding, lightly run your hand over the repair.
If it feels smooth and blends naturally into the surrounding wall, you’re ready for the next step.
If you can still feel a ridge or bump, continue sanding carefully until the transition is nearly impossible to detect.
Remove Dust Before Painting
Sanding creates fine dust that can interfere with paint adhesion and leave a gritty finish.
Before applying primer or paint:
- Wipe the area with a damp microfiber cloth or sponge.
- Let the wall dry if you’ve used water.
- Vacuum the floor and nearby surfaces to keep dust from spreading.
A clean surface helps ensure an even, professional-looking paint finish.
What If You Sand Too Much?
Accidentally sanding through part of the repair is a common beginner mistake, and it’s easy to fix.
Simply apply a thin layer of spackle or joint compound, let it dry completely, and sand again.
Trying to paint over an uneven repair usually takes longer than spending a few extra minutes correcting it properly.
Tips for Textured Walls
Smooth walls are straightforward to repair, but textured walls require a little extra care.
After sanding:
- Match the existing texture before painting.
- Use a texture spray or recreate the pattern with a sponge or brush if needed.
- Practice on a piece of cardboard before applying texture to the wall.
Matching the texture is often the key to making a repair disappear.
Common Sanding Mistakes
Avoid these common errors for better results:
- Sanding before the filler has dried
- Using overly coarse sandpaper
- Applying too much pressure
- Failing to feather the edges into the surrounding wall
- Forgetting to clean away dust before painting
Taking your time during sanding often produces the biggest improvement in the finished repair.
Safety Tips
Even small sanding jobs create airborne dust, so it’s worth taking a few precautions.
Wear:
- Safety glasses to protect your eyes
- A dust mask if sanding multiple repairs or larger areas
- Work gloves if you’re handling rough surfaces
If possible, open a window or use a fan to improve ventilation while you work.
Sanding may seem like a minor step, but it’s what transforms a simple patch into a repair that blends seamlessly with the rest of the wall.
With the right sandpaper, a light touch, and a little patience, you can smooth away imperfections and create a surface that’s ready for paint.
Whether you’re fixing a tiny nail hole or repairing a larger dent, don’t rush the finishing process. A few extra minutes spent sanding can make the difference between a repair that’s obvious and one that’s virtually impossible to spot.