
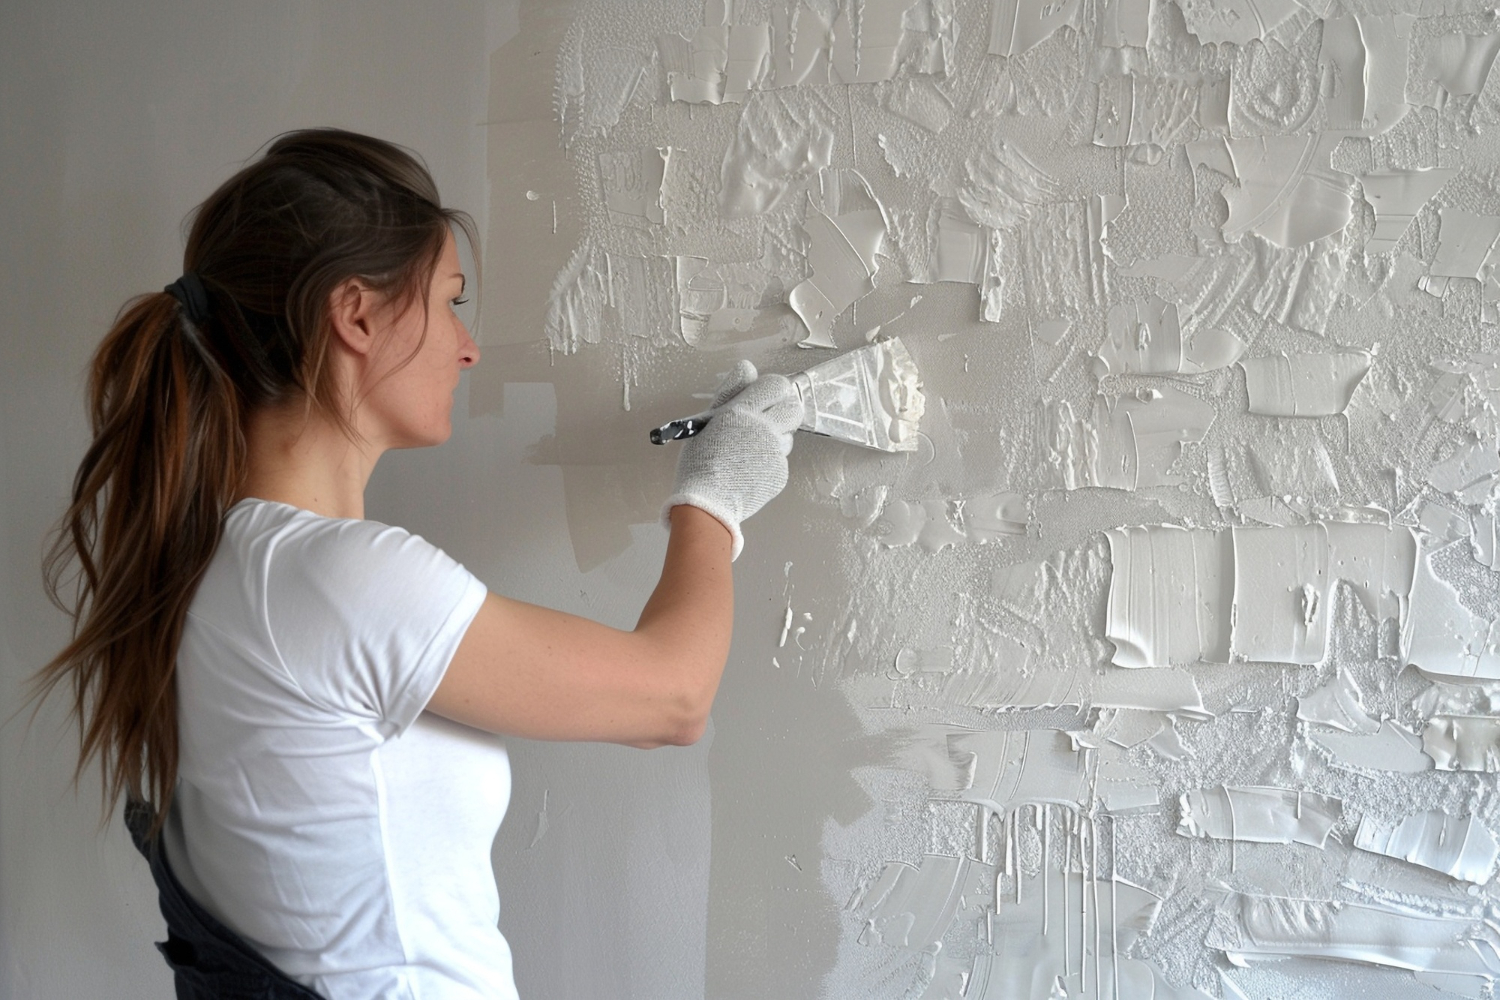
Repairing a damaged wall may seem like one of the simplest DIY projects, but it’s surprisingly easy to end up with a repair that’s more noticeable than the original damage. A patch that sticks out, visible sanding marks, or mismatched paint can draw attention every time you walk into the room.
The good news is that most wall repair mistakes are easy to avoid. By taking your time and following a few basic techniques, you can achieve results that blend seamlessly with the rest of the wall—even if you’re a beginner.
Rushing the Repair
One of the biggest mistakes DIYers make is trying to finish everything in one sitting.
Wall repairs involve several stages, including filling, drying, sanding, priming, and painting. Skipping ahead before each step is complete often leads to poor results.
For example, sanding filler before it’s fully dry can pull it out of the repair, while painting over damp compound can cause uneven texture and poor adhesion.
Patience is one of the most valuable tools you can bring to any wall repair.
Using Too Much Filler
It’s natural to think that adding extra spackle or joint compound will create a stronger repair, but the opposite is usually true.
Thick applications tend to:
- Take longer to dry
- Shrink as they cure
- Crack more easily
- Require extra sanding
Instead, apply thin, even layers. If the repair needs more material, add another coat after the first one has dried completely.
Choosing the Wrong Repair Material
Not every wall repair calls for the same product.
A common mistake is using lightweight spackle for large holes or relying on joint compound for tiny nail holes when a quick patch would do.
As a general rule:
- Use spackle for small holes, dents, and minor cosmetic repairs.
- Use joint compound for larger patches, drywall seams, and repairs that require multiple layers.
Using the right material makes the repair easier and helps it last longer.
Skipping Surface Preparation
Even the best filler won’t stick properly to a dirty surface.
Before making any repair:
- Remove loose paint.
- Brush away dust.
- Wipe the area clean.
- Trim damaged drywall paper if necessary.
A few minutes of preparation creates a stronger bond and a smoother finish.
Forgetting to Feather the Edges
Many wall patches stand out because they have sharp edges where the repair meets the original wall.
When applying filler, extend it slightly beyond the damaged area and smooth the edges with a putty knife. During sanding, gradually blend the repair into the surrounding wall.
This process, known as feathering, helps make the repair virtually invisible after painting.
Sanding Too Aggressively
Sanding is essential, but overdoing it can create a new problem.
Applying too much pressure may:
- Remove too much filler
- Damage the drywall paper
- Create uneven low spots
- Leave visible scratches
Use fine-grit sandpaper and let the abrasive do the work. Gentle, steady sanding almost always produces a better result than heavy pressure.
Ignoring Dust Before Painting
After sanding, fine drywall dust settles on the wall.
If you paint without cleaning it off, the finish may appear rough or uneven, and the paint may not adhere properly.
Always wipe the repaired area with a damp microfiber cloth or sponge and allow it to dry before applying primer or paint.
Skipping Primer
Many people assume that fresh paint alone will cover a repair.
In reality, patched areas often absorb paint differently than the surrounding wall. This can leave dull spots, uneven sheen, or visible patches even when the color matches perfectly.
Applying primer first helps:
- Seal repaired areas
- Improve paint adhesion
- Create an even finish
- Reduce flashing
For most repairs, primer is well worth the extra few minutes.
Using the Wrong Paint Finish
Matching the paint color is only half the job.
Paint also comes in different finishes, including:
- Flat
- Matte
- Eggshell
- Satin
- Semi-gloss
- Gloss
A repair painted with the wrong sheen can stand out even if the color is identical.
Whenever possible, match both the color and the finish of the existing wall.
Overlooking the Cause of the Damage
Sometimes the visible damage is only a symptom of a larger problem.
Before repairing cracks, peeling paint, or recurring holes, ask why the damage occurred.
Common underlying issues include:
- Water leaks
- Excess humidity
- Structural movement
- Loose drywall
- Repeated impacts
Fixing the cosmetic damage without addressing the cause often leads to the same repair needing attention again.
Trying to Repair Large Damage Like a Small Patch
Tiny nail holes and large drywall openings require different approaches.
A common mistake is attempting to fill a large hole with layer after layer of spackle.
For larger damage, it’s usually better to use:
- Drywall patch kits
- Mesh repair patches
- Replacement drywall pieces
- Joint tape and compound
Using the proper repair method creates a stronger, longer-lasting result.
Working in Poor Lighting
Small imperfections are much harder to see under dim lighting.
Whenever possible, position a bright work light so it shines across the wall. Side lighting highlights bumps, ridges, and sanding marks that may otherwise go unnoticed until after painting.
Finding these flaws before you paint is much easier than fixing them afterward.
Forgetting to Protect the Workspace
Wall repairs can be messy.
Dust, filler, and paint can easily end up on floors and furniture if you don’t prepare the area first.
Before starting:
- Lay down a drop cloth.
- Move nearby furniture if possible.
- Cover items that can’t be moved.
- Keep a vacuum or brush nearby for quick cleanup.
A few minutes of preparation can save a lot of cleanup later.
Successful wall repairs are less about having advanced skills and more about avoiding common mistakes.
Most problems—whether it’s visible patches, uneven paint, or recurring cracks—can be traced back to rushing the process or skipping an important step.
By choosing the right materials, preparing the surface properly, applying thin layers, sanding carefully, and taking the time to prime and paint correctly, you can achieve repairs that blend naturally with the surrounding wall. A little extra care during each stage makes all the difference, leaving your walls looking smooth, clean, and professionally maintained.