
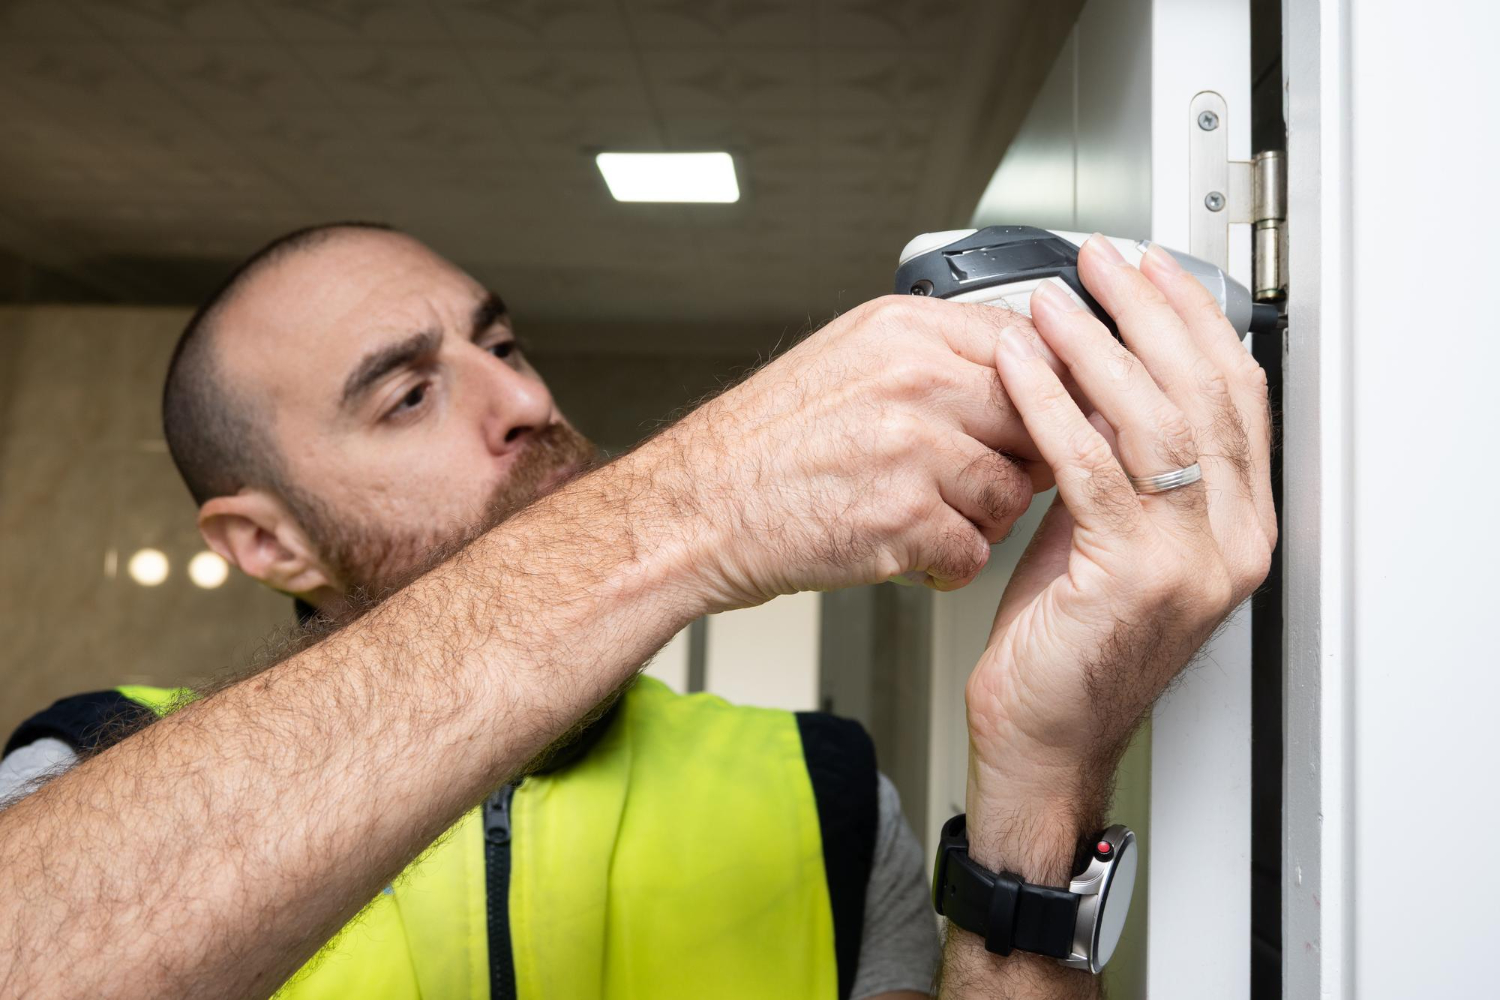
A door that sticks, squeaks, sags, or refuses to close properly often has a surprisingly simple cause: loose hinges. Over time, the repeated opening and closing of a door can gradually loosen the screws that hold the hinges to the door or the frame. Even a slight amount of movement can throw the door out of alignment.
Fortunately, tightening loose door hinges is one of the easiest home maintenance tasks you can tackle. In many cases, the repair takes less than 30 minutes and requires only a few basic tools.
Signs Your Door Hinges Are Loose
Before reaching for your toolbox, look for these common symptoms:
- The door rubs against the frame.
- It sticks when opening or closing.
- The latch no longer lines up with the strike plate.
- The door sags on the handle side.
- You notice movement when lifting the open door.
- The hinges make creaking or popping sounds.
If any of these sound familiar, loose hinge screws are a good place to start.
What You’ll Need
Most hinge adjustments require only a handful of tools:
- Phillips screwdriver
- Drill or screwdriver bit (optional)
- Replacement screws (2½ to 3 inches long)
- Wooden toothpicks or wooden matchsticks
- Wood glue
- Utility knife
- Hammer (optional)
Having a flashlight nearby can also help you inspect the hinge area more closely.
Step 1: Identify the Loose Hinge
Open the door halfway and gently lift up on the handle.
If the door moves up and down, watch the hinges closely. You may notice one hinge shifting or a screw turning inside its hole.
Check each hinge individually by trying to tighten every screw with a screwdriver.
Sometimes only one loose screw is responsible for the entire problem.
Step 2: Tighten the Screws
Start with the simplest solution.
Using a screwdriver—not a drill if possible—tighten each hinge screw until it’s snug.
Avoid overtightening, as this can strip the screw hole or damage the wood around it.
After tightening the screws, test the door. In many cases, this alone restores proper alignment.
Step 3: Replace Short Screws
If a screw keeps spinning without tightening, it has likely lost its grip inside the wood.
A common solution is to replace one of the screws—usually the center screw in the top hinge—with a longer screw measuring about 2½ to 3 inches.
The longer screw reaches into the wall framing behind the door jamb, creating a much stronger hold and often pulling a sagging door back into alignment.
Tighten the new screw gradually while checking the door’s position.
Step 4: Repair a Stripped Screw Hole
If even a longer screw won’t tighten, the wood inside the hole may be stripped.
Fortunately, this is an easy fix.
- Remove the loose screw.
- Dip several wooden toothpicks or matchsticks in wood glue.
- Push them into the stripped hole.
- Trim the excess so they’re flush with the surface.
- Allow the glue to dry completely.
- Reinstall the original screw.
The wood fills the enlarged hole, giving the screw fresh material to grip.
Step 5: Check the Door Alignment
After tightening or repairing the hinges, slowly open and close the door several times.
Look for:
- Smooth movement
- Even gaps around the door
- Proper latch alignment
- No rubbing against the frame
If the door still sags slightly, tightening the top hinge a little more may improve the alignment.
What If the Hinge Is Bent?
Occasionally, the hinge itself is damaged rather than simply loose.
Inspect the hinge for:
- Bent hinge leaves
- Cracks
- Loose hinge pins
- Worn knuckles
If the hinge is visibly damaged, replacing it is usually easier and more reliable than trying to repair it.
Lubricate While You’re There
Since you’re already working on the hinges, it’s a good time to eliminate any squeaks.
Apply a small amount of lubricant to the hinge pin.
Good options include:
- Silicone spray
- White lithium grease
- Household lubricating oil
Wipe away any excess to prevent it from attracting dust.
Prevent Hinges from Loosening Again
A few simple habits can help keep your door hardware secure.
- Tighten loose screws as soon as you notice movement.
- Avoid letting doors slam shut.
- Check frequently used doors every few months.
- Replace worn screws before they strip completely.
- Lubricate hinges once or twice a year.
Regular maintenance can prevent bigger alignment problems later.
Common Mistakes to Avoid
Even a simple repair can go wrong if you’re not careful.
Avoid these common mistakes:
- Overtightening screws until the wood strips.
- Using a drill at high speed for final tightening.
- Reusing badly stripped screws.
- Ignoring damaged hinges.
- Replacing every screw before determining which one is actually loose.
Working slowly usually produces better results than rushing the repair.
When to Call a Professional
Most loose hinges are an easy DIY fix, but professional help may be worthwhile if:
- The door frame has split or cracked.
- The door has warped significantly.
- Multiple hinges have pulled away from the frame.
- The surrounding wood is soft from water damage.
- The door still won’t close properly after tightening the hinges.
These issues may require repairs beyond simple hardware adjustments.
Loose door hinges are one of the most common household maintenance issues, but they’re also one of the easiest to fix.
Often, a few turns of a screwdriver are all it takes to stop a door from sagging, sticking, or rattling.
If tightening the screws isn’t enough, replacing a short screw with a longer one or repairing a stripped screw hole can restore the door’s stability without replacing the entire hinge. With just a few basic tools and a little time, you can keep your doors operating smoothly and prevent small problems from becoming bigger repairs.