
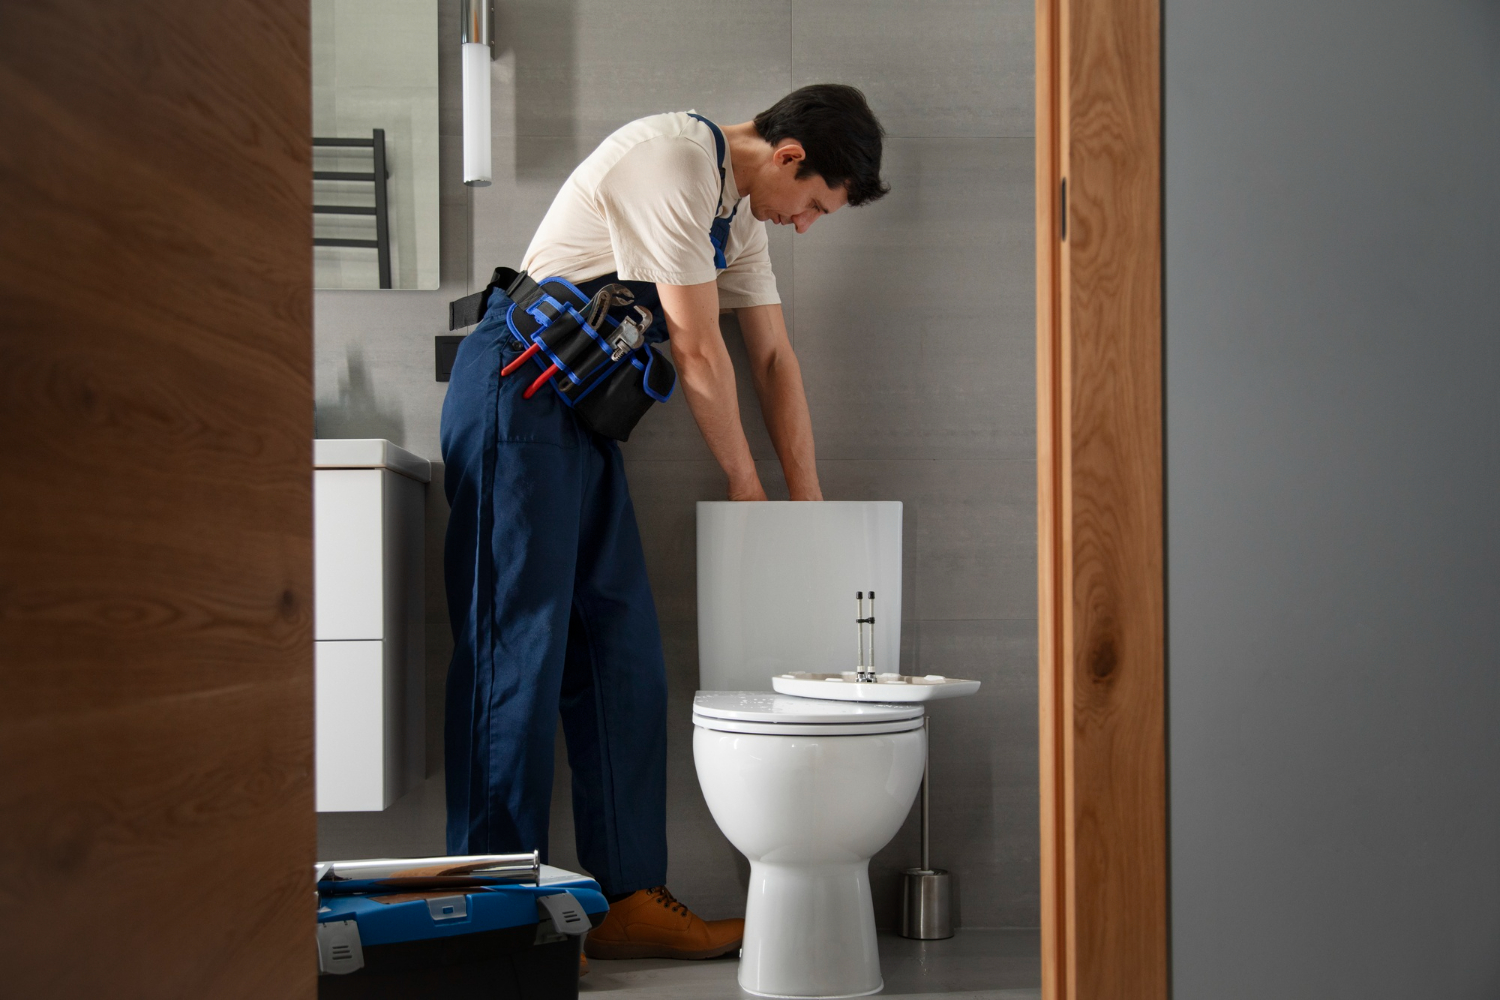
A running toilet is one of those problems that can quietly drive up your water bill long before you notice anything is wrong. You hear it refill randomly, or you notice the faint sound of water trickling long after flushing. Sometimes it runs constantly, other times it cycles on and off throughout the day.
Most of the time, the issue isn’t complicated. Inside the tank, a few simple parts control how water fills, stops, and seals. When one of them wears out or shifts out of place, the toilet starts wasting water.
The good news is that repairing a running toilet is usually quick, inexpensive, and well within reach for most homeowners.
How a Toilet Tank Works
Before fixing the problem, it helps to understand what’s happening inside the tank.
After you flush:
- The flapper lifts and lets water rush into the bowl.
- The tank empties and the flapper closes.
- The fill valve refills the tank.
- The float rises and shuts off the water when the correct level is reached.
A running toilet means one of these steps isn’t working correctly—usually the seal isn’t holding, or the fill valve isn’t shutting off.
Common Causes of a Running Toilet
Most running toilet issues come from a few predictable problems:
- Worn or warped flapper
- Improper chain length or tension
- Faulty fill valve
- Incorrect water level in the tank
- Dirty or corroded flush valve seat
- Float set too high
Each issue affects how well the tank seals or fills.
Step 1: Remove the Tank Lid and Observe
Lift the lid off the tank carefully and set it aside.
Watch the tank as it fills or runs. This simple observation often reveals the problem:
- If water is flowing into the overflow tube, the fill valve is likely the issue.
- If water leaks into the bowl, the flapper is probably not sealing properly.
This quick check helps narrow down the repair.
Step 2: Check the Flapper
The flapper is the rubber piece at the bottom of the tank that lifts when you flush.
Over time, it can:
- Warp or become brittle
- Lose flexibility
- Fail to seal properly
To test it, press it down gently while the tank is full. If the running stops, the flapper is likely the culprit.
Fix or replace the flapper
- Turn off the water supply behind the toilet.
- Flush to empty the tank.
- Unhook the old flapper from the chain and pegs.
- Install a new matching flapper.
- Reattach the chain with slight slack (not too tight, not too loose).
A chain that’s too short will prevent full sealing; too long and it won’t lift properly.
Step 3: Adjust the Chain
A misadjusted chain is a surprisingly common cause of running toilets.
Check that:
- There is a small amount of slack when the flapper is closed.
- The chain is not caught under the flapper.
- It lifts the flapper fully when flushed.
Adjust the hook position if needed. Even a small change can fix the issue.
Step 4: Inspect the Fill Valve
If water keeps running into the overflow tube, the fill valve may be the problem.
Look for:
- Water constantly flowing into the tube
- Inconsistent tank refilling
- Weak or slow shutoff
Adjust or replace the fill valve
Many fill valves have an adjustment screw or clip to set water level. Lowering the float slightly can stop overflow.
If adjustment doesn’t work:
- Turn off the water supply
- Disconnect the supply line
- Remove the old fill valve
- Install a new fill valve according to the manufacturer’s instructions
Fill valves are inexpensive and often restore full function immediately.
Step 5: Check the Water Level
The correct water level should sit about 1 inch below the top of the overflow tube.
If it’s too high, water will continuously drain into the tube.
Adjust the float:
- Twist-style floats can be turned to lower the level
- Sliding floats can be clipped or adjusted on the rod
Make small adjustments and test after each change.
Step 6: Clean the Flush Valve Seat
Sometimes mineral buildup prevents a good seal between the flapper and the tank base.
If the flapper looks fine but still leaks:
- Turn off the water
- Empty the tank
- Wipe the flush valve seat with a sponge or cloth
- Remove any debris or buildup
A clean sealing surface helps the flapper close properly.
Step 7: Replace the Flush Handle (if needed)
In some cases, the handle or lever can stick slightly in the “flushed” position, keeping the flapper partially open.
Check that:
- The handle moves freely
- The chain isn’t tangled
- The lever returns fully to rest
Replace the handle if it no longer moves smoothly.
When Multiple Parts Are the Problem
Older toilets often have more than one worn component. If replacing the flapper doesn’t stop the running, the fill valve and float may also need attention.
In many cases, replacing both the flapper and fill valve together is the fastest long-term solution.
Preventing Future Toilet Problems
A few simple habits can help keep your toilet working properly:
- Check the tank annually for worn parts
- Replace flappers every few years
- Avoid harsh chemical cleaners in the tank
- Watch for slow or repeated refilling sounds
- Address small leaks early before they worsen
Toilet parts are inexpensive compared to wasted water over time.
Common Mistakes to Avoid
Running toilet repairs are simple, but small mistakes can delay the fix:
- Choosing the wrong flapper size
- Setting the chain too tight
- Raising the float too high after adjustment
- Ignoring buildup around the flush valve seat
- Replacing parts without identifying the actual cause
A quick diagnosis before replacing parts saves time and frustration.
A running toilet is usually caused by a small internal issue rather than a major plumbing failure.
In most cases, replacing a worn flapper or adjusting the fill valve is enough to restore normal function.
By taking a few minutes to observe how the tank behaves and making targeted adjustments, you can stop the constant running, reduce water waste, and avoid unnecessary repairs. It’s one of the simplest plumbing fixes a homeowner can learn—and one of the most satisfying to get right.