
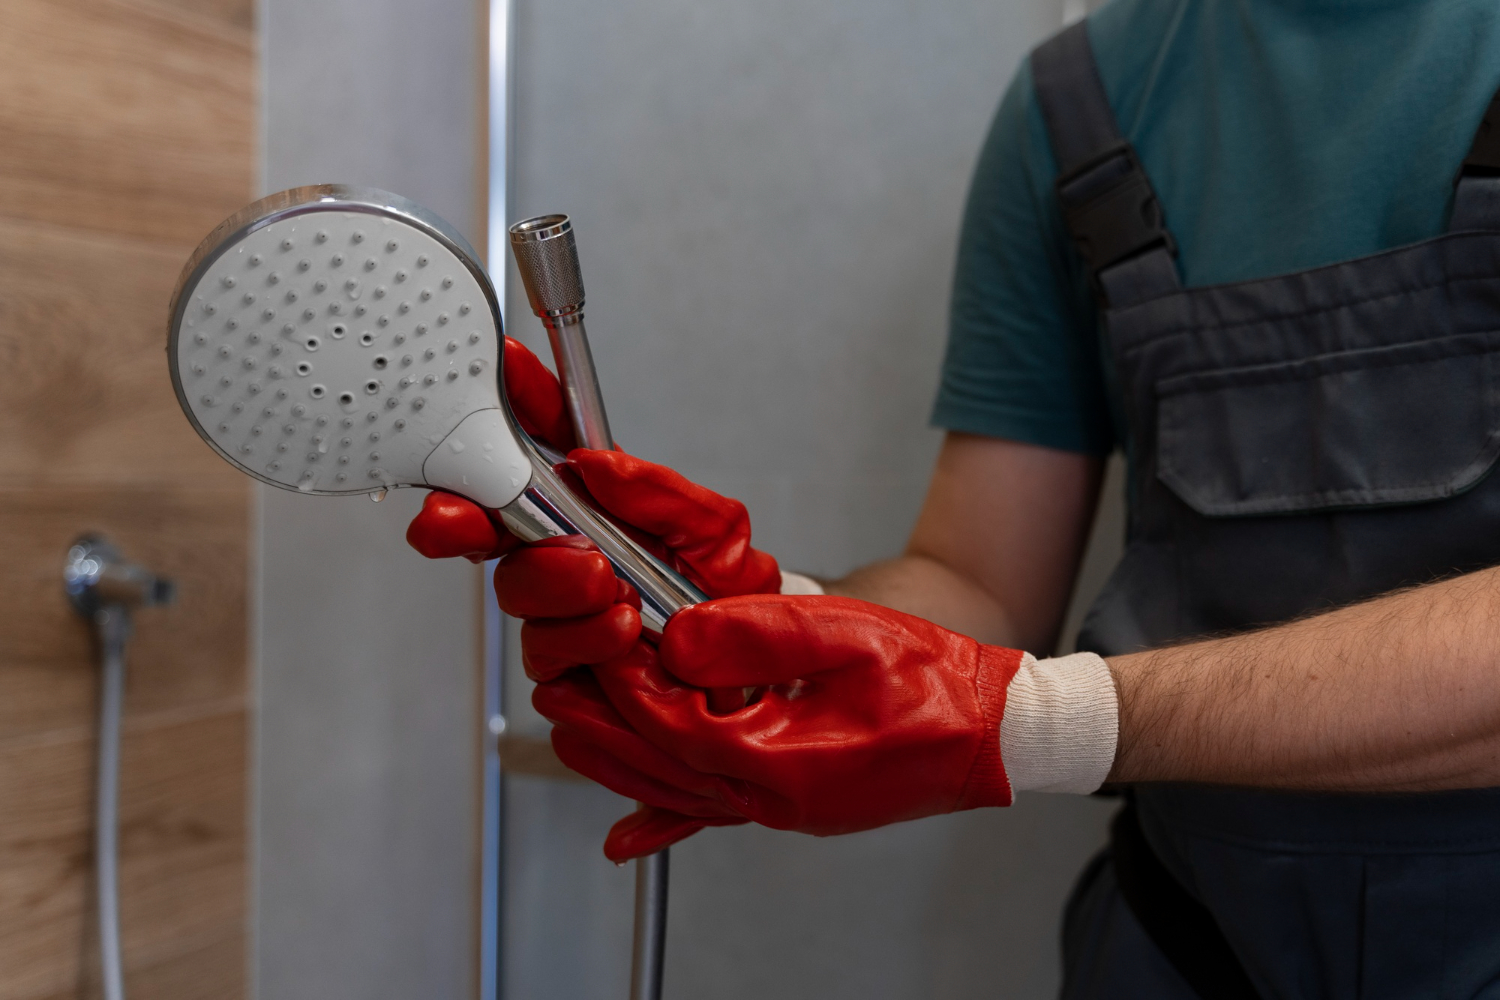
A dripping showerhead is easy to ignore at first. The drops are small, the sound is subtle, and it only happens after the water is turned off. But over time, that steady drip can waste water, leave mineral stains in the tub, and point to a worn-out internal seal.
In many cases, the problem isn’t the showerhead itself—it’s a small rubber washer inside the connection that has hardened, flattened, or cracked. Replacing it is a quick, inexpensive fix that usually takes less than 30 minutes.
Why Showerheads Start Dripping
A showerhead seals water at the threaded connection between the shower arm and the fixture. Inside that joint is a rubber washer (sometimes called a gasket or O-ring) that creates a tight seal.
Over time, that washer can:
- Dry out and crack
- Flatten from constant pressure
- Become stiff from mineral buildup
- Shift out of position during tightening
When the seal fails, water slowly escapes even when the valve is fully closed.
Signs the Washer Is the Problem
Before replacing anything, check for these common symptoms:
- Dripping from the showerhead after use
- Water leaking at the connection point, not the spray holes
- Visible wear or flattening around the showerhead joint
- Mineral deposits around the threaded connection
- Drip stops briefly when the showerhead is adjusted
If the leak is coming from the connection to the pipe rather than inside the fixture, the washer is the most likely cause.
What You’ll Need
This is a simple repair that requires only basic tools:
- Adjustable wrench or pliers
- Replacement rubber washer or O-ring
- Plumber’s tape (Teflon tape)
- Soft cloth or towel
- Small brush (optional for cleaning threads)
Most hardware stores carry universal washer assortments that include sizes that fit standard showerheads.
Step 1: Turn Off and Prepare
You don’t need to shut off the home’s main water supply for this repair, but make sure the shower is completely off and cool.
Place a towel in the tub or shower floor to catch any small parts and protect surfaces from scratches.
Step 2: Remove the Showerhead
Grip the showerhead where it connects to the pipe (the shower arm).
- Turn it counterclockwise to loosen.
- Use a cloth between the tool and metal to prevent scratching.
- If it’s stuck, apply gentle pressure with pliers.
Once loose, unscrew it completely and set it aside.
Step 3: Locate the Washer
Inside the threaded end of the showerhead or inside the coupling nut, you’ll find a rubber washer.
It may be:
- Flat and seated in a groove
- Slightly recessed inside the fitting
- Hardened or misshapen
Remove it carefully with a small tool or your fingers.
Step 4: Inspect and Replace the Washer
Check the old washer for damage:
- Cracks or splits
- Flattened shape
- Hard or brittle texture
- Mineral buildup
Replace it with a new washer of the same size and thickness. A proper fit is important—too small won’t seal, and too large won’t seat correctly.
Press the new washer firmly into place so it sits evenly.
Step 5: Clean the Threads
Before reattaching the showerhead, take a moment to clean the threads on both the shower arm and the fixture.
- Use a dry cloth or small brush
- Remove mineral deposits or debris
- Make sure the surface is smooth and clean
This helps ensure a proper seal and prevents future leaks.
Step 6: Apply Plumber’s Tape
Wrap plumber’s tape around the shower arm threads:
- Wrap clockwise (in the same direction the showerhead will tighten)
- Use 2–3 layers for a secure seal
- Smooth the tape down so it sits evenly
This adds an extra barrier against leaks.
Step 7: Reinstall the Showerhead
Screw the showerhead back onto the arm by hand.
- Turn clockwise until snug
- Use a wrench for a final gentle tighten if needed
- Avoid overtightening, which can damage the washer or threads
Make sure the showerhead is aligned properly once tightened.
Step 8: Test for Leaks
Turn on the water and let it run for a few seconds.
Then shut it off and check:
- Around the connection point
- For any dripping from the showerhead
- For moisture forming on the pipe joint
If you still see a leak, slightly tighten the connection or recheck the washer seating.
If the Leak Continues
If replacing the washer doesn’t fix the problem, consider:
- A damaged shower arm thread
- Missing or incorrect washer size
- Cracked showerhead housing
- Excessive mineral buildup inside the fixture
In older fixtures, replacing the entire showerhead is sometimes more practical than repeated repairs.
Preventing Future Leaks
A few simple habits can extend the life of your shower hardware:
- Clean mineral buildup regularly
- Avoid overtightening when reinstalling fixtures
- Replace washers at the first sign of wear
- Use plumber’s tape whenever reconnecting fittings
- Check for slow drips periodically
Small maintenance steps can prevent larger plumbing issues later.
Common Mistakes to Avoid
This is a simple repair, but a few errors can cause ongoing leaks:
- Installing the washer backward or crooked
- Using the wrong washer size
- Skipping plumber’s tape
- Overtightening the showerhead
- Ignoring damaged threads on the shower arm
Taking a few extra seconds during installation makes a big difference.
Replacing a showerhead washer is one of the easiest plumbing fixes a homeowner can do.
In most cases, a small rubber seal is all that stands between a leak-free shower and a slow, constant drip.
With basic tools and a careful approach, you can restore a proper seal, stop water waste, and extend the life of your fixture in less than an hour. It’s a small repair, but one that quietly improves both efficiency and comfort in your home.