
A squeaky floor is one of those small home annoyances that can drive you a little crazy over time. The sound might seem harmless at first, but once you notice it, it’s hard to ignore—especially in quiet rooms or at night. The good news is that most squeaks are fixable, and in many cases, you don’t need to tear up the entire floor to solve the problem.
Squeaks usually happen when wood components rub against each other or when fasteners loosen over time. Understanding what’s causing the noise is the key to fixing it properly instead of just masking it.
Why Floors Squeak
Most squeaky floors come down to movement. As you walk across the floor, pressure causes materials to shift slightly.
Common causes include:
- Loose nails or screws in subflooring
- Subfloor rubbing against floor joists
- Gaps between floorboards
- Wood shrinking or expanding with humidity
- Weak adhesive or worn construction materials
Over time, even small amounts of movement can create noticeable noise.
Locate the Exact Squeak
Before attempting any repair, identify where the sound is coming from.
To pinpoint the spot:
- Walk slowly across the area and listen closely
- Have someone else walk while you observe from below (if possible)
- Mark the squeaky spots with painter’s tape
- Test different directions of movement
Squeaks often occur at specific points rather than across the entire floor.
Check from Below if Possible
If you have access to a basement or crawl space, you can often see what’s happening underneath.
Look for:
- Gaps between subfloor and joists
- Nails or screws that appear loose
- Movement when someone walks above
- Areas where wood is separating
This view can make it much easier to choose the right repair method.
Tighten Loose Floorboards
One of the simplest fixes is securing loose boards.
If the subfloor is accessible:
- Use wood screws to reattach loose boards to joists
- Drive screws through the subfloor into framing members
- Avoid over-tightening, which can damage wood fibers
Screws work better than nails because they resist loosening over time.
Use Specialized Squeak-Repair Kits
For finished floors where you don’t want visible screws, there are repair kits designed specifically for squeaks.
These typically include:
- Breakaway screws or trim-head screws
- A guide to locate joists
- A depth-control system to avoid damaging the surface
Once installed, the top of the fastener is snapped off or hidden, leaving a nearly invisible repair.
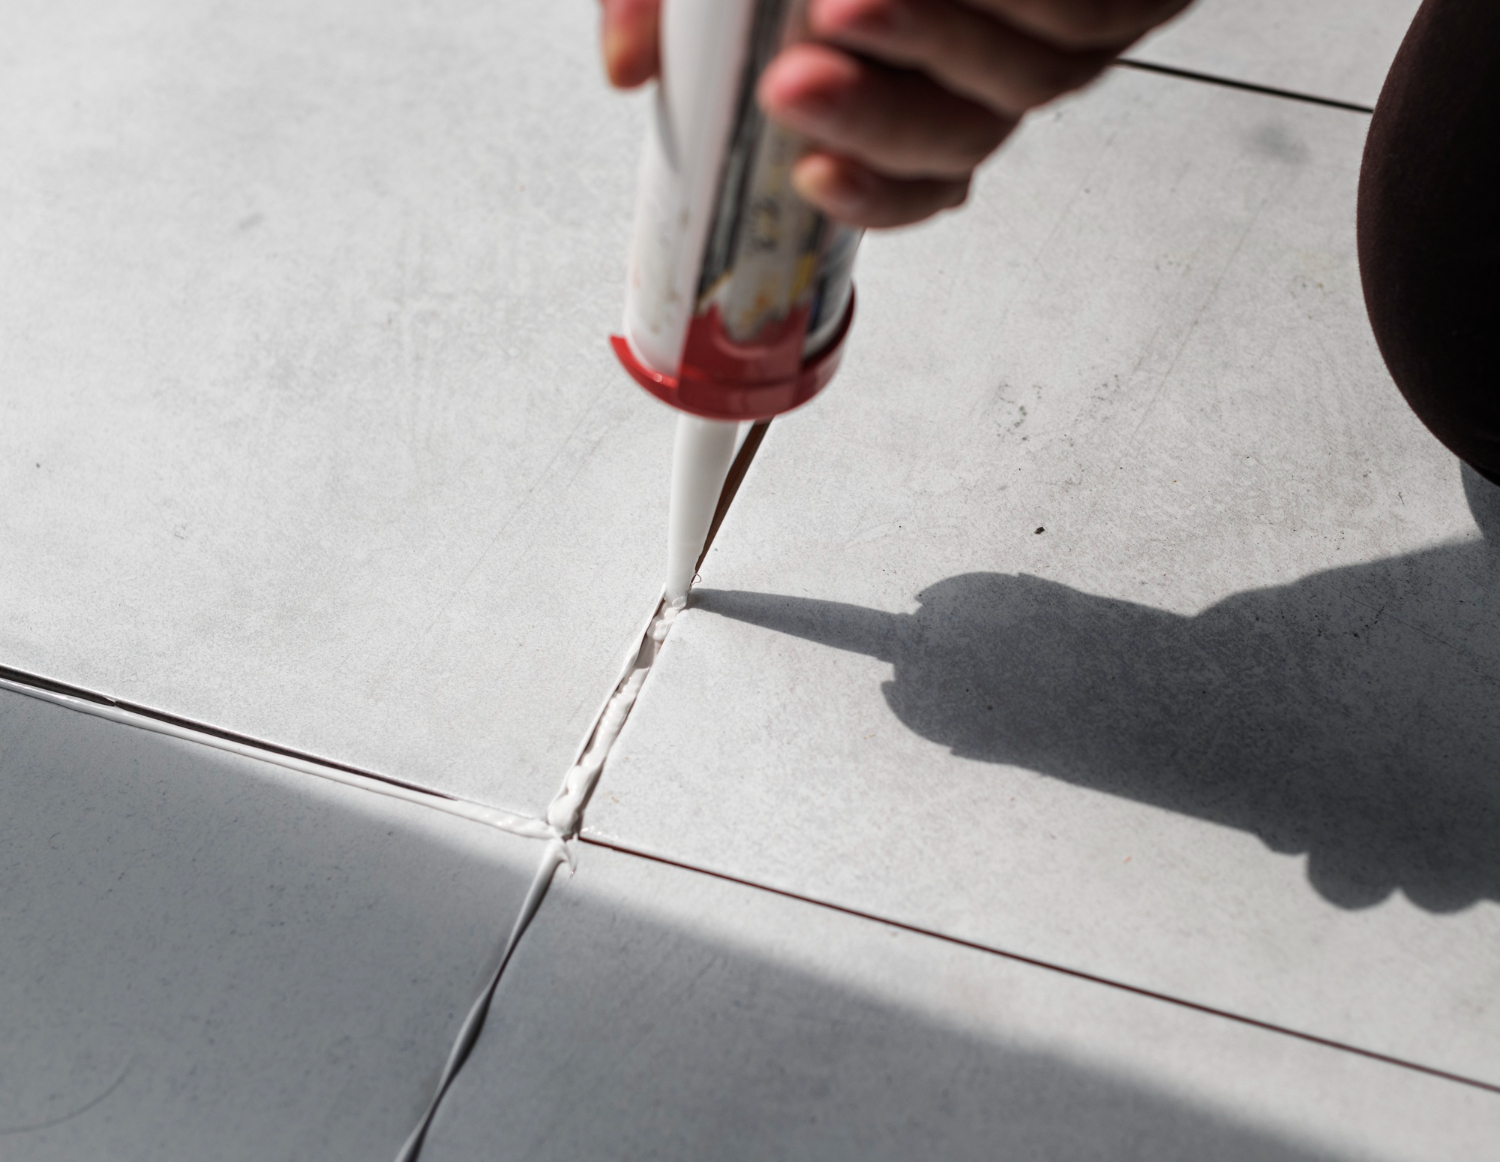
Apply Construction Adhesive (When Accessible)
If you can reach the underside of the floor, adhesive can help eliminate movement.
To use it effectively:
- Apply construction adhesive along joists
- Press subfloor firmly into place
- Reinforce with screws if needed
This helps bond materials together and reduces friction that causes squeaking.
Use Shims to Fill Gaps
Sometimes squeaks are caused by small gaps between framing members and subflooring.
In those cases:
- Tap thin wood shims into gaps
- Apply wood glue to hold them in place
- Trim excess material after it sets
Shims help eliminate movement without major reconstruction.
Lubricate Minor Surface Squeaks
For squeaks coming from floorboards rubbing against each other (especially hardwood floors), a temporary fix may help.
You can try:
- Talcum powder or graphite powder between boards
- Brushing material into seams and working it in with foot pressure
This reduces friction but is usually a short-term solution rather than a permanent fix.
Secure Carpeted Floors Carefully
Carpet makes squeak diagnosis more difficult, but the fix is often similar underneath.
Options include:
- Installing screws through carpet using repair kits
- Pulling back carpet edges to access subfloor
- Securing loose padding or underlayment
The key is avoiding visible damage to the finished surface whenever possible.
Reinforce Weak Joists
If squeaks are widespread or persistent, the issue may be structural reinforcement rather than loose fasteners.
This may involve:
- Adding blocking between joists
- Sistering new joists alongside old ones
- Strengthening areas that flex under load
These repairs are more involved and may require professional assistance.
Avoid Common Mistakes
A few missteps can make squeaks worse or create new problems:
- Using nails instead of screws for repairs
- Driving fasteners without locating joists
- Over-tightening screws and damaging flooring
- Ignoring moisture issues that cause wood movement
- Attempting surface fixes without addressing structural causes
Proper diagnosis is more important than quick fixes.
When Squeaks May Signal a Bigger Problem
While most squeaky floors are harmless, some indicate deeper issues.
Be cautious if you notice:
- Sudden increases in squeaking across large areas
- Floors that feel soft or bouncy
- Visible sagging or uneven surfaces
- Signs of water damage or rot
- Squeaks combined with cracks in walls or ceilings
These symptoms may point to structural or moisture-related damage.
Preventing Future Squeaks
Once repairs are complete, a few habits can help reduce recurrence:
- Maintain consistent indoor humidity levels
- Address water leaks quickly
- Avoid excessive floor loading in one area
- Use proper fasteners during any remodeling work
- Inspect floors periodically for movement
Wood naturally expands and contracts, but stable conditions reduce stress on flooring systems.
Squeaky floors are one of the most common household annoyances, but they’re also one of the most fixable.
In many cases, the solution is as simple as securing loose boards or reducing friction between materials. More involved cases may require reinforcement, but even those are manageable with the right approach.
By taking time to locate the exact source of the noise and choosing the right repair method, you can restore a quiet, solid feel to your floors and prevent the squeaks from returning. A few targeted fixes can make a noticeable difference in comfort throughout your home.