
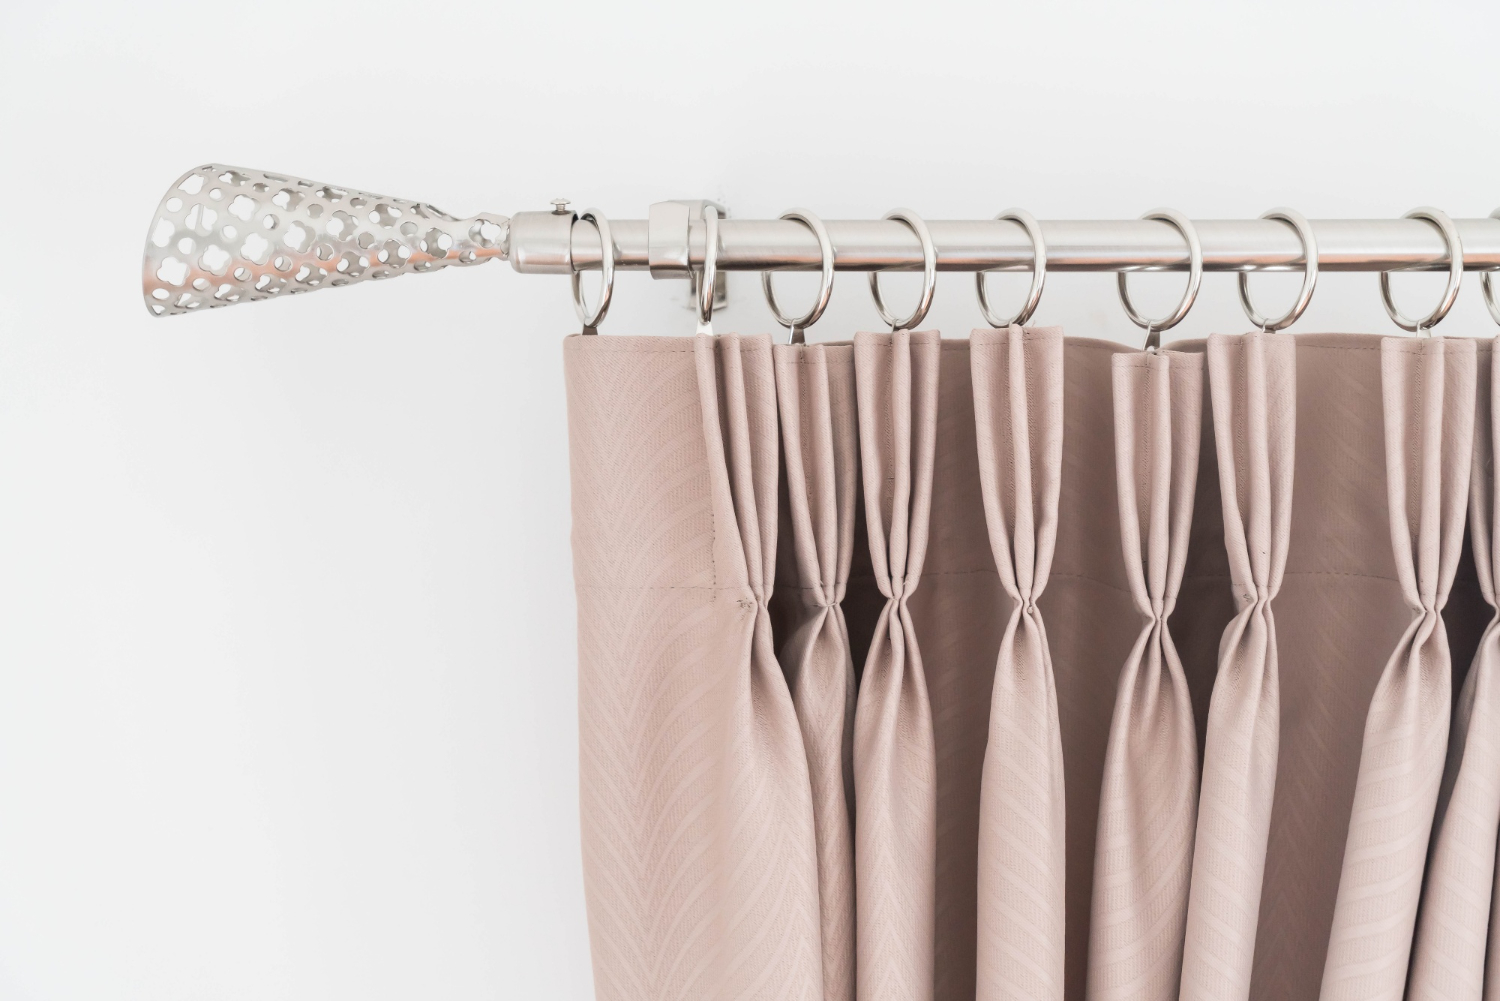
Curtain rods don’t look like they carry much weight at first glance, but over time they do more work than most people realize. Every time the curtains are opened or closed, a small amount of pressure transfers into the brackets. Add heavier fabric, uneven installation, or drywall anchors that were never meant for the load, and you end up with one of the most common household annoyances: a loose curtain rod bracket.
The good news is that this is usually a straightforward fix. In most cases, you don’t need to replace the entire setup—just reinforce what’s already there.
Why Curtain Rod Brackets Come Loose
Loose brackets rarely happen all at once. They usually develop slowly due to repeated stress.
Common causes include:
- Screws gradually pulling out of drywall
- Weak or undersized wall anchors
- Heavy or layered curtains
- Frequent pulling or tugging on the rod
- Installation into plaster or brittle wall material
- Poor initial alignment causing uneven load
Once a bracket starts shifting, the problem tends to get worse quickly because movement widens the holes in the wall.
Start by Assessing the Damage
Before grabbing tools, take a close look at what’s actually happening.
Ask yourself:
- Are the screws loose, or are they pulling out of the wall?
- Is the bracket itself bent or damaged?
- Are all brackets loose, or just one side?
- Is the rod level or sagging in the middle?
The answer will determine whether you can tighten things up or need to rebuild the mounting point.
Tighten What’s Still Solid
If the bracket is still firmly anchored, the fix may be as simple as tightening the screws.
To do this:
- Remove the curtain rod first
- Tighten all mounting screws evenly
- Make sure the bracket sits flush against the wall
- Reinstall the rod and test for movement
If the screw spins without tightening, the wall material is likely stripped and needs reinforcement.
Repair Stripped Drywall Holes
Stripped holes are one of the most common issues behind loose brackets.
Simple fixes include:
1. Larger screws
Sometimes switching to a slightly thicker screw can grip fresh material inside the hole.
2. Wall anchors
Plastic expansion anchors or self-drilling anchors help distribute weight more evenly.
3. Hollow wall repair inserts
For heavier curtains, toggle-style anchors provide much stronger support behind drywall.
If the bracket is used for heavy drapes, this is often the most reliable long-term solution.
Reinforce with Wall Anchors Properly
When installing new anchors:
- Remove the bracket and existing hardware
- Insert the anchor fully into the wall
- Ensure it sits flush with the surface
- Reattach the bracket using the anchor screw
Avoid reusing old, loose anchors—they rarely hold well a second time.
Fix Oversized or Worn Holes
If the wall opening is too damaged for anchors to grip, you’ll need to rebuild the hole.
A simple method:
- Fill the hole with wood filler or wall repair compound
- Let it dry completely
- Drill a new pilot hole
- Install a proper anchor or screw
This restores strength instead of relying on weakened material.
Mount Into Studs for Maximum Strength
If possible, anchoring curtain brackets into wall studs is the most secure option.
To do this:
- Use a stud finder to locate framing
- Mark bracket positions carefully
- Use wood screws long enough to penetrate the stud
- Reinstall brackets directly into solid wood
This is especially important for heavy curtains or wide windows where more tension is applied.
Check Bracket Alignment
Loose brackets sometimes aren’t just a strength issue—they’re a balance issue.
If one side is slightly lower or misaligned:
- The rod pulls unevenly
- One bracket carries more weight than the other
- Screws loosen faster over time
Use a level to ensure both brackets are evenly positioned before tightening everything down.
Upgrade Hardware if Needed
Sometimes the original hardware simply isn’t strong enough.
Consider upgrading to:
- Metal brackets instead of plastic
- Heavy-duty drywall anchors
- Wider base plates that distribute weight
- Curtain rods with center support brackets for long spans
A small hardware upgrade can prevent repeated repairs.
Address Curtain Weight Problems
Not all bracket issues come from the wall—sometimes the curtains themselves are the problem.
Watch for:
- Extra-heavy blackout or layered drapes
- Oversized curtain panels
- Rods extended too far beyond bracket support
If the load is too high, even a well-installed bracket will eventually loosen.
Prevent Future Loosening
Once repaired, a few habits help keep brackets secure:
- Avoid pulling curtains sharply to one side
- Check screws periodically for tightness
- Use center supports for long curtain rods
- Distribute curtain weight evenly when closing
- Re-tighten hardware after seasonal changes
These small steps help extend the life of the installation.
Common Mistakes to Avoid
Curtain rod repairs are simple, but a few missteps can make things worse:
- Reusing stripped holes without reinforcement
- Over-tightening screws and damaging drywall
- Using plastic anchors for heavy curtains
- Ignoring uneven bracket alignment
- Mounting only into drywall when studs are available
Most failures happen because the wall wasn’t properly reinforced the first time.
When to Replace the Brackets Entirely
Sometimes repair isn’t enough.
Replacement is a better option if:
- Brackets are bent or cracked
- Screws no longer grip at all
- Multiple repairs have already failed
- The rod constantly slips or tilts
- Hardware is visibly corroded or worn
New brackets with proper anchors often solve recurring issues permanently.
Loose curtain rod brackets are a small problem, but they tend to return if they’re not fixed the right way.
The key is understanding whether the issue is in the screws, the wall, or the hardware itself.
With the right anchors, proper alignment, and a bit of reinforcement, most curtain rods can be made solid again in a short amount of time. Once secured correctly, they should stay stable through everyday use without constant readjustment—leaving you with one less household annoyance to worry about.